What is a rental inspection checklist?
A rental inspection checklist is a detailed document used by tenants and landlords to record the condition of the property at move-in and move-out. Using one is the most important step you can take to prevent disputes and get your full security deposit back when your tenancy ends.
Why this 15-minute walkthrough could save you $1,000
Your security deposit isn't just money sitting in an account — it's your money that you need back when you move. A quick inspection on day one can prevent months of stress and hundreds of dollars lost to charges that aren't your fault.
Preventing security deposit disputes: This printable rental inspection checklist free becomes your legal proof. When your landlord or property manager claims you damaged something, your dated photos show the truth. Without documentation, it's your word against theirs.
Identifying safety hazards: Before you unpack, you need to know if your new home is actually safe. Faulty smoke detectors, broken locks, and electrical problems need fixing immediately.
Avoiding blame for pre-existing damage: That carpet stain, cracked tile, or loose cabinet door — if you don't document them now, you'll pay for them later.
Setting a professional tone: When you show up prepared with a checklist and camera, you send a clear message. You're organized, and you won't accept unfair treatment.
The 3 types of rental inspections (and when to use them)
Understanding when to inspect your rental property prevents surprises down the road.
The move-in inspection: Your most important check. Do this walkthrough within 24-48 hours of your move-in date. Document everything before bringing in furniture. This creates your baseline inspection report showing the condition of the property when you arrived.
The move-out inspection: Your final walkthrough to get your money back. Clean thoroughly, fix any damage you caused, and photograph each room. This inspection determines if you followed your lease terms and maintained the rental property in good condition.
Routine inspections: Most landlords or property managers conduct regular inspections once or twice yearly during your tenancy. Keep your place reasonably clean and be present when possible.
How to conduct your rental inspection: A step-by-step guide
Most renters rush through inspections or skip them entirely. That's a mistake. Follow this method to protect yourself.
Before you start: Grab your phone, a flashlight, an outlet tester ($5 at hardware stores), and this printable template. Charge your phone fully. Have your lease agreement handy to reference the property address and inspection date.
The golden rule — document everything: Take wide shots of entire rooms, then close-ups of damage. Run videos of water pressure and test appliances while recording. Speak the inspection date aloud in your videos. This creates timestamped evidence.
What to do if the landlord isn't there: Complete your inspection anyway. Email everything to your landlord the same day with a subject line like "Move-in Inspection Report — [Property Address] — [Date]." Include your tenant name and request their confirmation or tenant signature if your lease agreement requires it.
How to use your printable checklist
Your rental walkthrough checklist pdf is designed for easy use during your inspection.
Print and bring it: Print before your move-in date. Bring it on a clipboard with your phone for photos.
Work systematically: Complete one category fully before moving to the next. The checklist groups related items so you're not running between rooms.
Use the checkboxes: Mark each item as good, minor issue, or major problem. Be honest as you inspect.
Photo everything: When you find damage, photograph it immediately. Write the checklist item name in the photo so you can match notes later.
Don't skip sections: Hallways, attics, and basements often hide problems that cost money later.
Headway's rental property inspection checklist: What's inside?
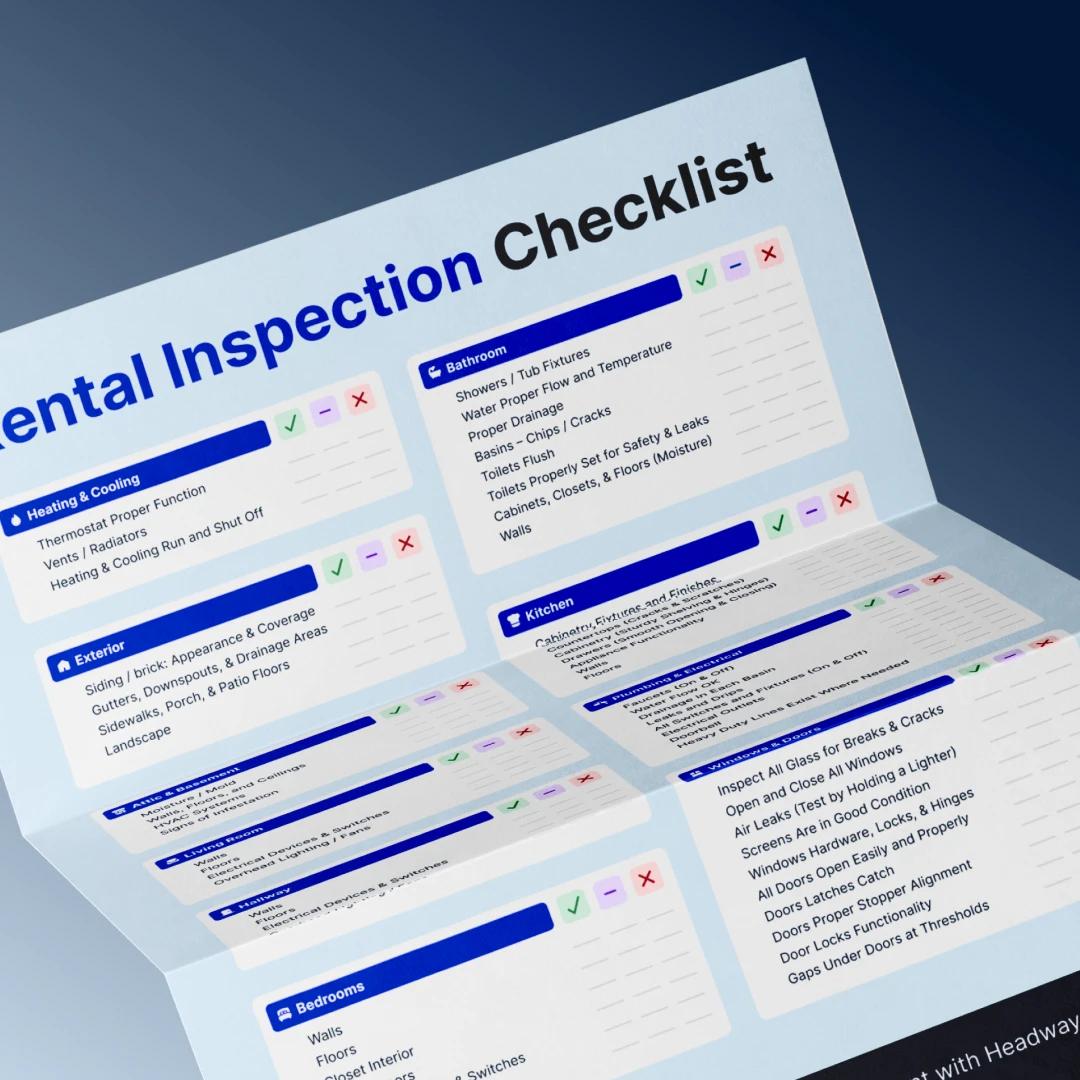
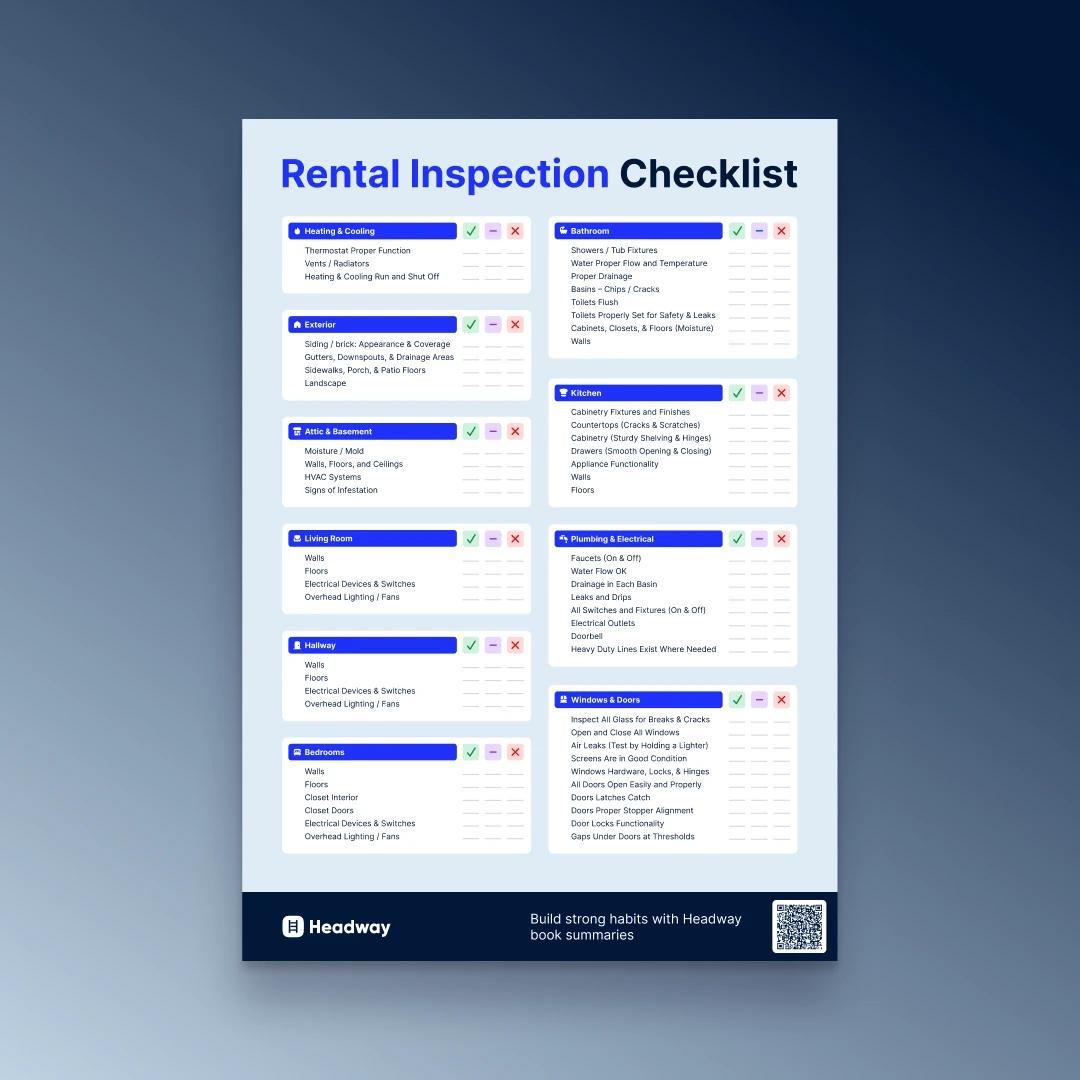
Download your free printable rental inspection checklist PDF here to take with you during your walkthrough. Our template includes 10 major categories with checkboxes for easy tracking:
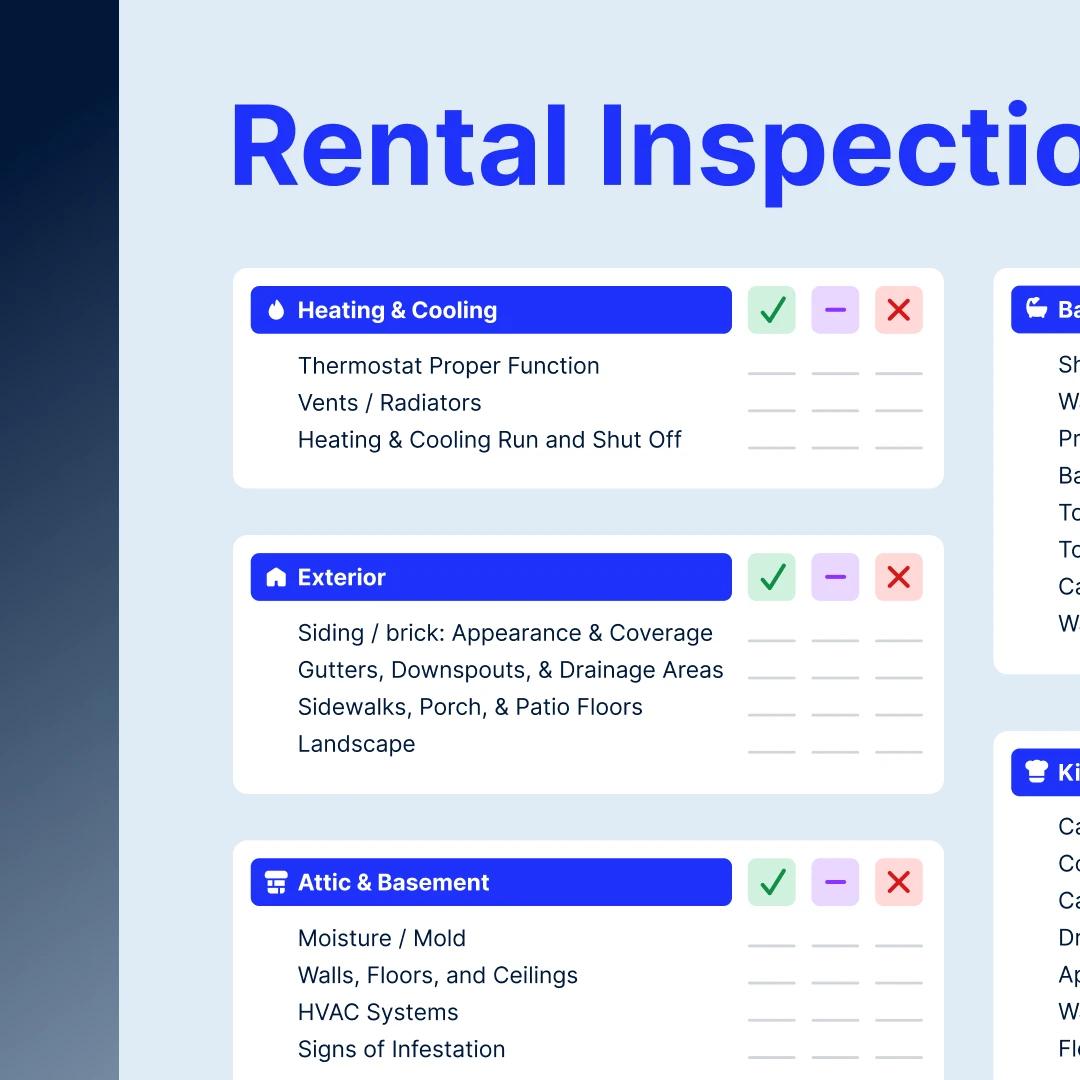
Heating and cooling: Thermostat function, vents, radiators, system operation.
Exterior: Siding, brick, gutters, downspouts, sidewalks, porch, patio, and landscape.
Attic and basement: Moisture, mold, walls, floors, ceilings, HVAC systems, pest signs.
Living room: Walls, floors, electrical devices, switches, overhead lighting, fans.
Hallway: Walls, floors, electrical devices, switches, overhead lighting, fans.
Bedrooms: Walls, floors, closet interior, closet doors, electrical devices, switches, overhead lighting, fans.
Bathroom: Shower and tub fixtures, water flow and temperature, drainage, basins, toilet function, cabinets, moisture check, and walls.
Kitchen: Cabinetry fixtures, countertops, shelving, hinges, drawer function, appliances, walls, and floors.
Plumbing and electrical: Faucets, water flow, drainage, leaks, switches, fixtures, outlets, doorbell, heavy-duty lines.
Windows and doors: Glass condition, window operation, air leaks, screens, hardware, locks, hinges, door function, latches, stoppers, gaps.
10 commonly missed items that cost tenants their deposit
Even careful renters overlook these items. Check these specific areas from the checklist.
Air leaks around windows and doors: The checklist includes testing for air leaks by holding a lighter near window edges. Drafts mean high energy bills and often get blamed on tenants.
Gaps under doors at thresholds: Check every door for gaps at the bottom. Poor door seals let in bugs, noise, and drafts.
Attic and basement moisture or mold: Many renters skip these areas completely. Look for water stains, musty smells, or visible mold that could become your problem later.
HVAC systems in attic or basement: Test that heating and cooling actually work. Don't just assume they're fine — turn them on and check airflow.
Chips and cracks in bathroom basins: Look closely at sinks and the bathtub. Small chips can turn into big cracks that you'll be charged for.
Proper toilet function and leaks: Make sure toilets flush properly and are set securely. Check the base for leaks or wobbling.
Smooth drawer operation in the kitchen: Open and close every kitchen drawer. Sticky or broken drawer slides often get overlooked until move-out.
All electrical outlets and switches: Test every single outlet in every room with your outlet tester. Dead outlets are inconvenient and could indicate bigger electrical problems.
Window screens condition: Check that all screens are intact with no tears. Missing or damaged screens often result in replacement charges.
Signs of infestation in the basement or attic: Look for droppings, nests, or evidence of pests. Document anything you find so you're not blamed for an existing problem.
"Normal wear and tear" vs. "damage"
This is where most landlord-tenant deposit disputes happen. Understanding the difference protects you from unfair charges.
| Normal wear and tear (Landlord's Cost) | Damage (tenant's Cost) |
|---|
Faded paint from sunlight | Unauthorized paint job or major stains |
Minor scuffs on walls from daily living | Large holes in the walls from nails or accidents |
Carpet wear patterns from walking | Wine stains, pet urine, or burn marks on carpet |
Slightly loose grout in older tile | Cracked, broken, or missing tiles |
Small scratches on countertops | Deep cuts or burn marks on countertops |
Worn cabinet hinges | Broken cabinet doors or drawers |
Light switch plates slightly faded | Cracked or missing switch plates |
Dusty window tracks | Broken window glass or frames |
Want to understand your landlord's perspective? Knowing how property owners think helps you protect yourself better. Check out key ideas from Brandon Turner's 'Book On Rental Property Investing'. Understanding their business mindset helps you maintain the property's condition and be a smarter, better-protected tenant.
Your move-in is done. Now what?
If you've documented everything, your final steps are:
Make copies: Keep copies in cloud storage and on your computer. Print physical copies too.
Send a dated copy to your landlord: Email everything the same day. This timestamped message proves you reported issues immediately.
Check out more free printables for a fresh start
A successful tenant move is about planning every detail. Here are more free printables from the Headway blog to help:
Moving to a new rental property is stressful enough without worrying about losing your deposit. Download your free rental inspection checklist today and protect yourself from day one.
Ready to level up beyond checklists? Headway gives you 15-minute book summaries on everything from negotiation to money management. Learn about real estate investing, tenant rights, communication skills, and building better habits — all in the time it takes to make coffee. Download Headway and turn your downtime into growth time.